STEP 1
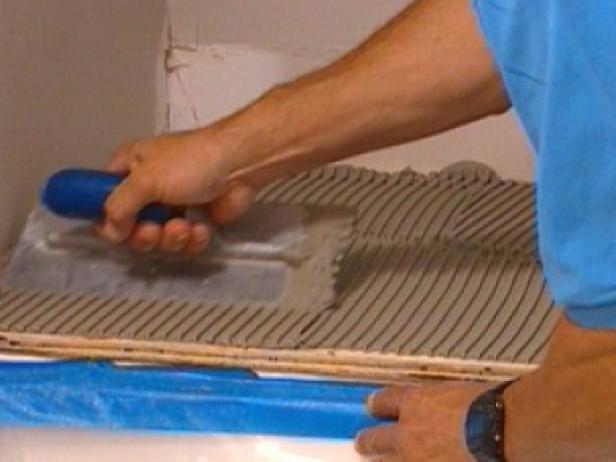
Apply the Thin Set
diynetwork – To attach the backer board to the counter, mix the modified thin set to manufacturer’s specifications, and apply it to the plywood with a notched trowel. Use the flat end of the trowel to push the thin set over the surface of the plywood. Use the notched side of the trowel to comb through the thin set to get a uniform thickness.
STEP 2
Lay the Backer Board
Lay the pre-cut backer board panels on top of the plywood and thin set.
STEP 3
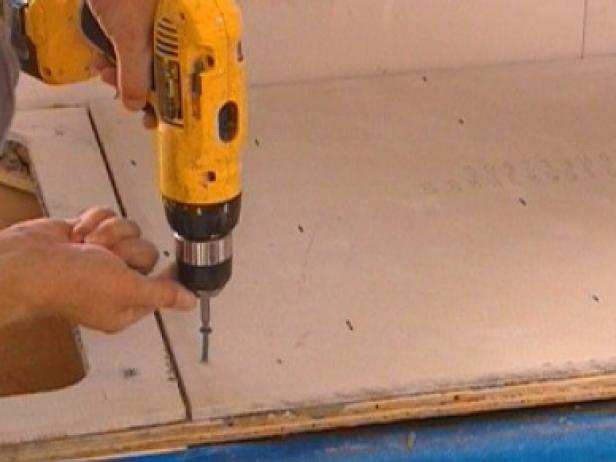
Screw the Backer Board Into the Plywood
Screw the backer board into the plywood with backer board screws 6″ to 8″ on center in the field and along all the edges.
STEP 4
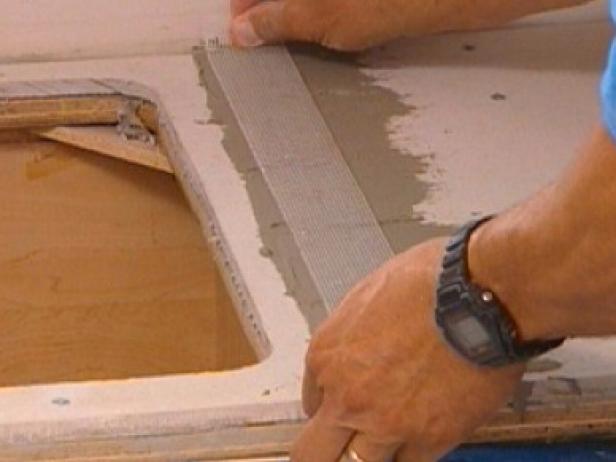
Tape the Field Joints
Once the backer board is adhered and fastened down, tape the field joints with an alkali-resistant backer board tape. (Apply the thin set into the joints, put the tape on top and finish it off with the flat edge of a trowel.)
STEP 5
Dry Run the Tiles
To tile the counter top, attach a temporary apron to the counter, and dry run the tiles on the counter leaving a grout joint. Mark with a pencil for chalk lines.
STEP 6
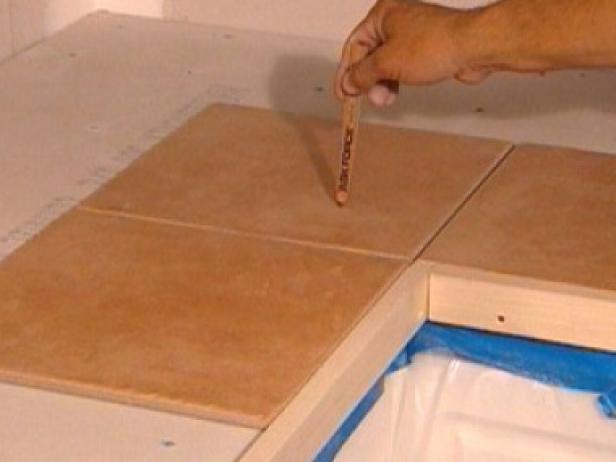
Start at the 90-Degree Corner
On an L-shaped counter, start in the 90-degree corner.
STEP 7
Chalk the Lines
Measure the entire counter and chalk the lines. This will determine tile placement and allow you to cut any tile ahead of time. Use a carpenter’s square to draw the lines through the chalk mark.
STEP 8
Mark the Tiles
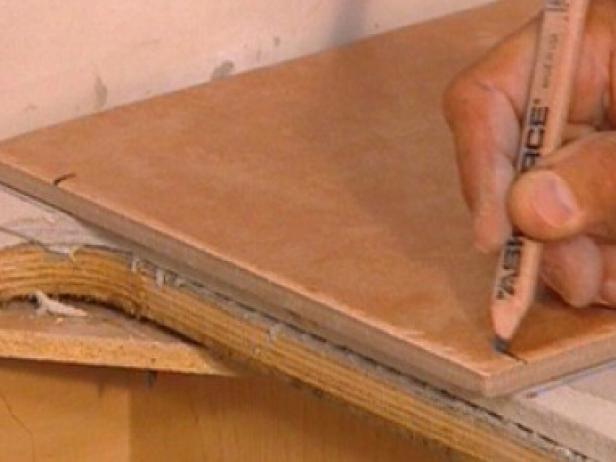
Once chalking the lines and making the tick marks are done, set the tile in place to cut the sink opening. Align the straight-cut tile with the mark to make the L-cut for the sink. The only difference in the L-cut is that some materials are removed while leaving others. Make the marks on the tile where the sink opening is. Take the other full tile and align it next to the marked tile, and make the same marks on the tile. Make an “x” on the material that needs to be removed when cutting the tiles.
Note: On sinks that are self-rimming, remember the rim will “cover” the opening where the tile is, and it will later be set into silicone so it’ll be sealed.
STEP 9
Cut the Tiles
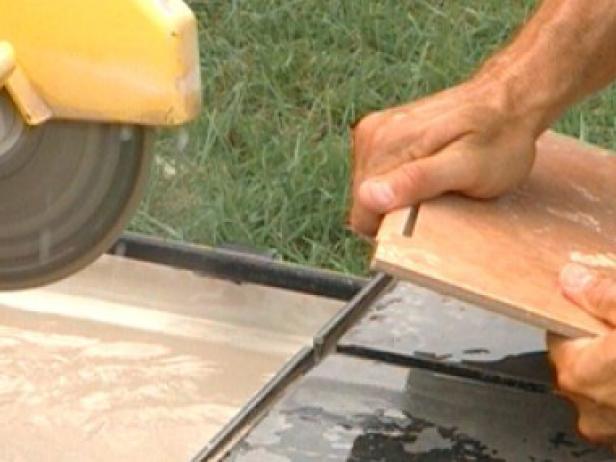
Cut the tiles with a wet saw.
STEP 10
Mix the Thin Set
To apply thin set on the counter, mix the thin set according to manufacturer’s specifications.
Note: Thin set should be mixed at a milkshake consistency, and remember that the mortar — just like grout
STEP 11
Pre-Wet the Backer Board
Pre-wet the backer board with a damp sponge before the thin set is applied.
STEP 12
Comb the Thin Set
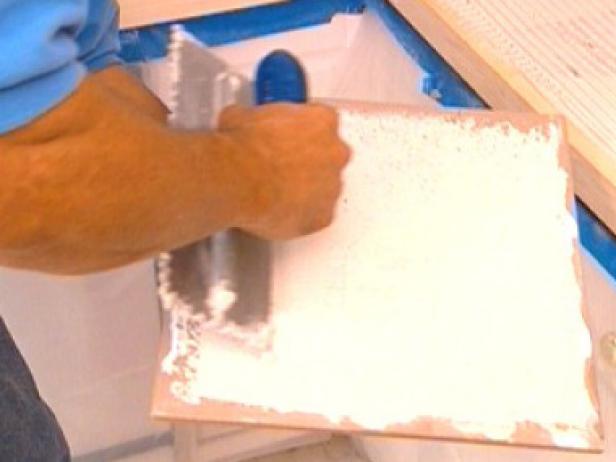
Push the thin set onto the surface with the flat side of a trowel to key the mortar into the substrate. Then, holding the trowel at a 45-degree angle with the notched side down, comb the thin set to a uniform thickness.
STEP 13
Back Butter and Place the First Tile
Back butter the first field tile and place on the countertop.
STEP 14
Continue Placing the Tiles
Start tiling at the apex of the L and work out from there. Make sure the tiles are level and only lay as much thin set as possible in 15 minutes.
STEP 15
Tap the Tiles
Lightly tap the tiles with a rubber mallet. Don’t tap too hard because the tiles could break. If a tile is too high, lightly tap it down, and if a tile is too low, lift it, add some thin set and reset.
STEP 16
Tile the Entire Counter
Repeat the tiling steps for the entire counter.
STEP 17
Clean Excess Thin Set
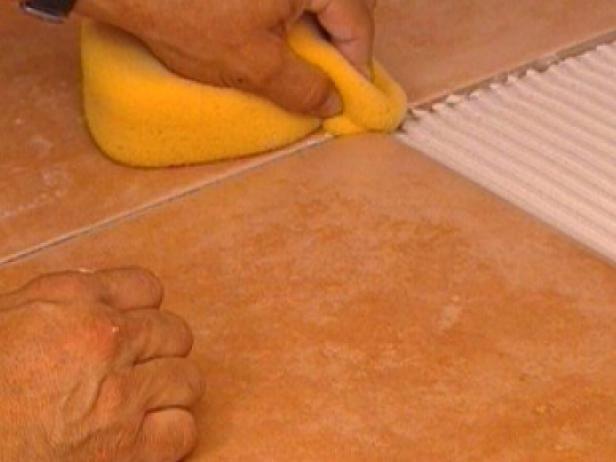
Don’t forget to clean joints of excess thin set.
Note: Let the tile set for 24 hours before setting anything on it.


