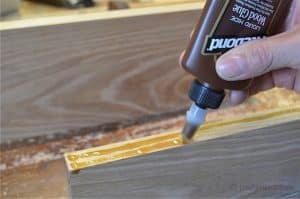
By Paul Sellers – When I visited Highland Hardware last month I picked up several things I wanted to test out and one of them was a bottle of the Titebond Liquid Hide Wood Glue from Titebond. Straight off the bat I must say I was a little surprised that I liked its liquid-gold resinous look. I also liked the consistency of the liquid, exactly the right viscosity for application and it of course worked well with the spreader-spout as I could give a thick or thin spread depending on the pressure and angle of presentation. This makes application easy end efficient.
I grew up on and off with hide glue. My dad boiled it on the cookstove and glued anything and everything made from wooden components together. Violin makers still use hide glue in making traditional instruments like violins and cellos and also for repairing them. Why is that? Simple really; these instruments must be repairable. Were it not for animal hide glue there would most likely be no Strad’s, Guanari’s, Amati’s and dozens of others from the past near half a millennia. Instruments like this rely purely on glue to hold all of the components together. There is only one joint that connects the neck to the main body on these traditional bowed instruments. Remarkably, joinery is an unnecessary and unwanted element and might render an instrument irreparable were it not for the unique quality hide glue offers the repairer-maker. Unlike most all other glues, hide glue is readily split along its glue-line if and when necessary. This characteristic then allows maker-repairer to separate the components by shock-splitting along any glue lines, often using no more than a thin knife tapped with a hammer to split one part from another. Titebond glue allows this perfectly. Though to any average woodworker it may seem strange to see such a thing as a positive feature, all of the violin family of instruments need to be dismantled from time to time to repair any part that gets damaged. These repairs often take place from the inner part of the instrument toward the outside simply because most points of damage comes from the outside faces into the inner chamber, forcing the wood into the chamber. Other repairs use what we call patches. Bits of wood fitted and shaped over a puncture or damaged area and pared down or carved inside to reduce parts that might adversely affect the movement or passage of air in the cavity. Beyond even that, instruments may well need different types of modifying and even ‘voice’ changing by reshaping. This is mainly possible on the inside surfaces only, as the outside surfaces are fully and acceptably shaped, body-filled and finished to completion with polished out ancient pigment and varnish. Some of the advantages I speak of can indeed be applied to furniture and antique repair too. Boxes have glued bottoms and lids that can repaired using the same methods. Chair legs and frames can be dismantled this way too.
Two Tests of Methods
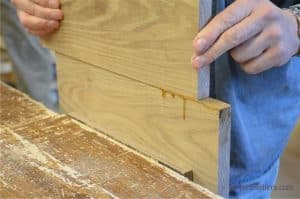
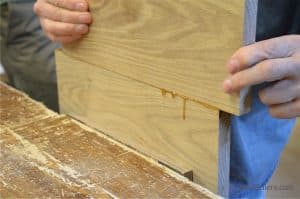
With the glue on one surface, tradition says slide the board from left to right. I haven’t found anything better than this and in this case tradtion wins my vote.
My tests took two traditional methods; one, I glued and clamped two parts in a vise, two, I rub-jointed two components and left them without pressure and no clamping whatsoever. Rub-jointing is simply planing two meeting edges straight and near square and then applying glue. One of these two parts is rubbed from left to right, back and forth, against the other several times to expel air and remove any excess glue from between the two surfaces.
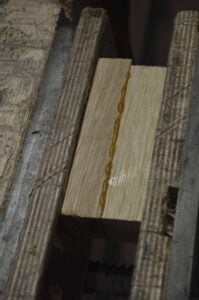
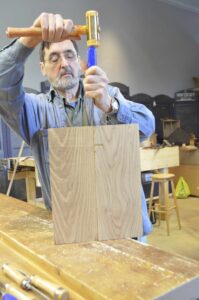
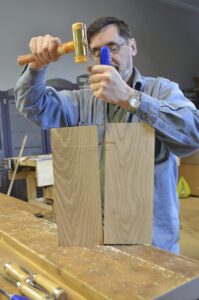
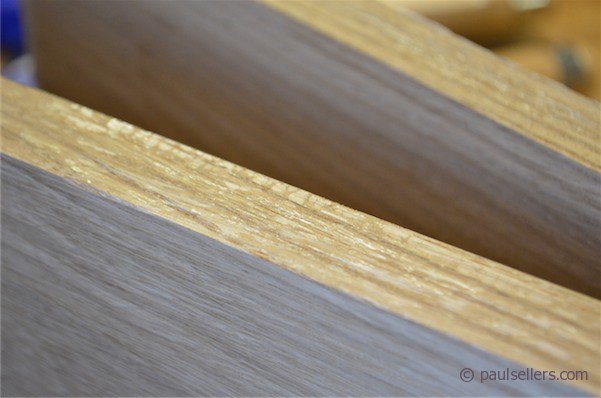
After 24 hours I could not break the joint by upper body pressure and indeed I could pull the workbench around the shop with just that thin band of glue a thousandth of an inch thick. On the other hand, I quickly and easily separated the two parts with a sharp whack on a carefully placed chisel on the joint line. The break was crisply clean with no trace of fractured wood on either of the parts. The second test on the small, clamped-in-the-vise pieces couldn’t be parted using hand pressure and that was obvious, but they did split-part beautifully in similar fashion using a 1” chisel and a swift whack with the chisel hammer. The parting was clean, clean,clean and had equal glue to both surfaces, which showed that it was the glue itself that split under shock-splitting pressure.
Good for Wood?
Does all of this mean that liquid hide glue cannot be used as a general purpose wood adhesive? Of course not. As with any adhesive, Titebond liquid hide glue must stand the test of time and that may take a few more years Hide glue has been around for millennia. Most furniture over a hundred years old will most likely be held together with hide glue and that statistic means hundreds of millions of pieces. The glue is something of a gap filler and even imperfect surfaces can be glued with a strong line. The makers recommend clamping and that’s fine, but my tests showed that there was no discernible difference between clamped boards and simple rub-jointed joints. They both separated with the same pressure.
Old Glue for Old Work – and For New
For furniture restoration, this glue gives us a ready-to-go glue that I find highly suited for all types of furniture repair and I would not hesitate to use it on any old pieces. The glue cures over several hours and as it was in times past when we used hide glue only, the glued assembly is best left overnight – twelve hours minimum. Cure is important to achieve maximum strength. I found that the glue was still fairly rubbery after three hours, typical of the old boiled hide glue too, which means that the glue did grab, but could still slide for a while if left unchecked. Open time seemed to me to be about 1/2 an hour, plenty long enough for all assembly procedures and certainly an advantage in complex glue ups. My next tests will be with veneers using both the veneer hammer and veneering using bag press methods.
Hard and Brittle When Cured and Set
I like the hard set of animal hide glue and always have. This liquid hide glue has the same hard set and that means that it can be readily scraped, filed and sanded and these methods leave only minimal trace on the wood itself.
Nice Just Looking At It
I remember the first time I saw animal hide glue drip and run from a joint my dad made. Hot from the pan, it first ran in like candle drips, curtaining and then culminating slowly into deep amber globs. The image is impressed on my mind. Apart from the above, I felt that this glue pleased me with a sense of peacefulness in the same way clear honey has that immeasurable quality that defies description. It’s the nearest substance I have ever found to seeping pockets of resin from sun-warmed European Redwood pines in summer heat. Try some.
Vietnam Plywood
Vietnam Film Faced Plywood


